Ingredients
Equipment
Method
1. Initial Mixing
- Place the sifted confectioners’ sugar into a large mixing bowl. Pour in the light corn syrup and the vanilla extract.
- Add 6 tablespoons of the milk or water to the sugar mixture. Using a whisk or a rubber spatula, stir the ingredients slowly until they are just combined and smooth. Do not overbeat, as this can incorporate too much air.
- Adjust the base consistency: If the mixture appears too thick to pour easily, add the remaining 2 tablespoons of milk, one tablespoon at a time, until the icing is smooth and lump-free.
2. Achieving Outline Consistency (Piping)
- Separate about one-third of the icing into a smaller bowl. This is the portion you will use for outlining. Test the consistency by letting a spoonful drizzle back into the bowl. The line should disappear completely between 8 and 10 seconds (Outline Consistency).
- Adjust outline thickness: If too thin (line disappears under 8 seconds), add one teaspoon of sifted powdered sugar at a time. If the icing is too thick, add water, 1/4 teaspoon at a time.
3. Achieving Flooding Consistency (Filling)
- Return to the remaining two-thirds of the icing (the “flooding” portion). Add milk or water, 1/2 teaspoon at a time, stirring gently, until the icing is quite runny.
- Test consistency: When you lift the spoon and drizzle the icing back into the bowl, the line should melt back into the surface of the icing in approximately 5 to 7 seconds. This is the ideal “flooding consistency.”
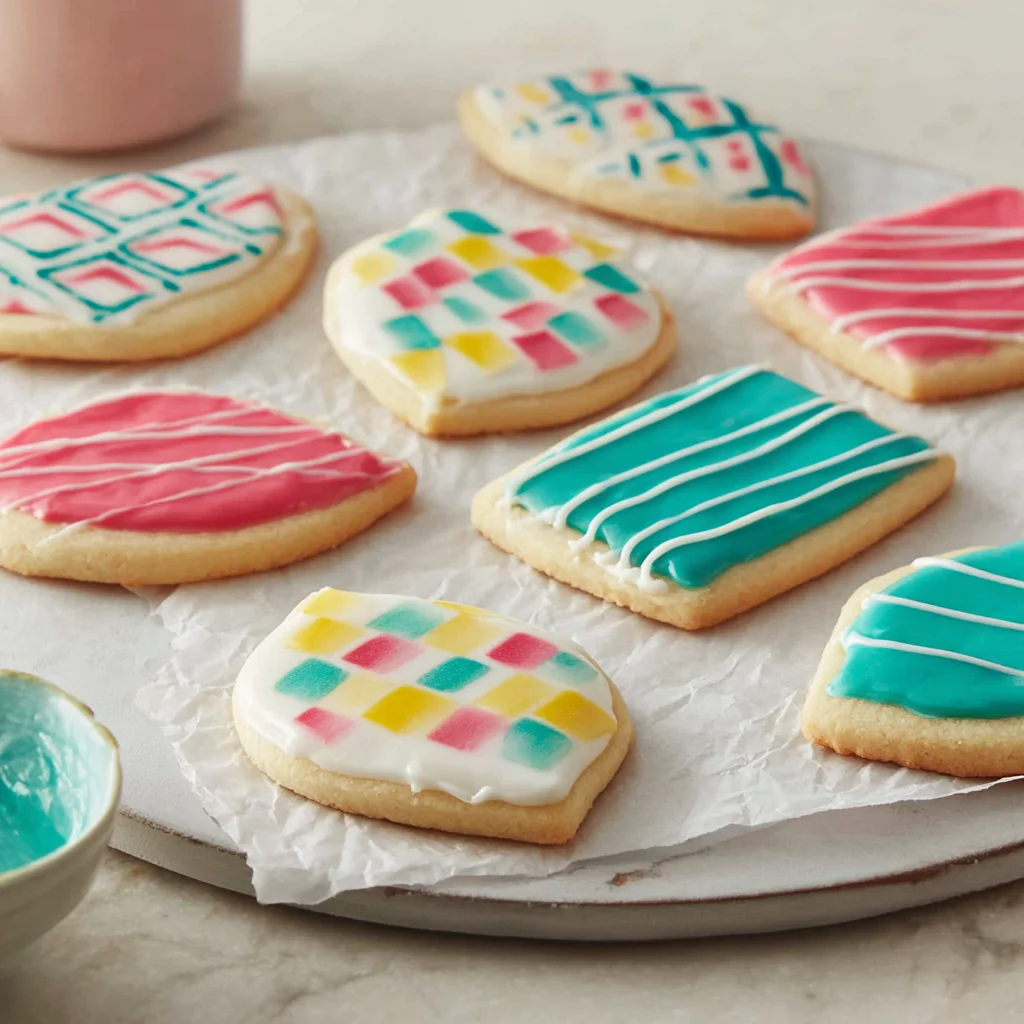
4. Coloring and Decorating
- Divide the outline icing and the flooding icing into smaller containers based on the colors you intend to use. Use concentrated gel food coloring by dipping a toothpick into the gel and stirring it into the icing until the desired shade is achieved.
- Transfer the outline icing into piping bags fitted with a small round tip (or a zip-top bag with the corner snipped). Transfer the flooding icing into piping bottles or larger piping bags.
- Pipe outlines around the perimeter of the cooled cookies first, letting the outline set for 10-15 minutes. Flood the outlined area with the runny flooding icing, using a toothpick or small scribe tool to gently push the icing to the edges. Allow the decorated cookies to dry completely (8 to 24 hours).
Notes
This recipe is highly sensitive to humidity. If your environment is very humid, you may need slightly less liquid and a longer drying time. Store leftover icing tightly sealed at room temperature for up to 3 days, or in the refrigerator for up to 2 weeks (stir well before using). Remember, the 'cook time' listed above is 0 minutes, but the decorated cookies require 8-24 hours to fully set and harden.