Get ready to dig into a graveyard of deliciousness with our Halloween Dirt Cake recipe! This frightfully fun dessert is perfect for Halloween parties, spooky movie nights, or any occasion that calls for a deliciously spooky treat. Forget about complicated baking; this no-bake recipe is incredibly easy to make, requiring minimal effort yet delivering maximum impact. The rich chocolate pudding, the delightfully crumbly “dirt,” and the wiggly gummy worms create a sensory experience that’s both fun and satisfying. This Halloween Dirt Cake is guaranteed to be a hit with kids and adults alike, leaving everyone wanting more. Its simple preparation makes it ideal for busy individuals and families, allowing you to enjoy the spooky festivities without spending hours in the kitchen. This recipe is incredibly versatile, allowing for creative customization, making it perfect for expressing your own spooky style. Let’s get started on this deliciously spooky adventure!
Why You’ll Love This Halloween Dirt Cake Recipe
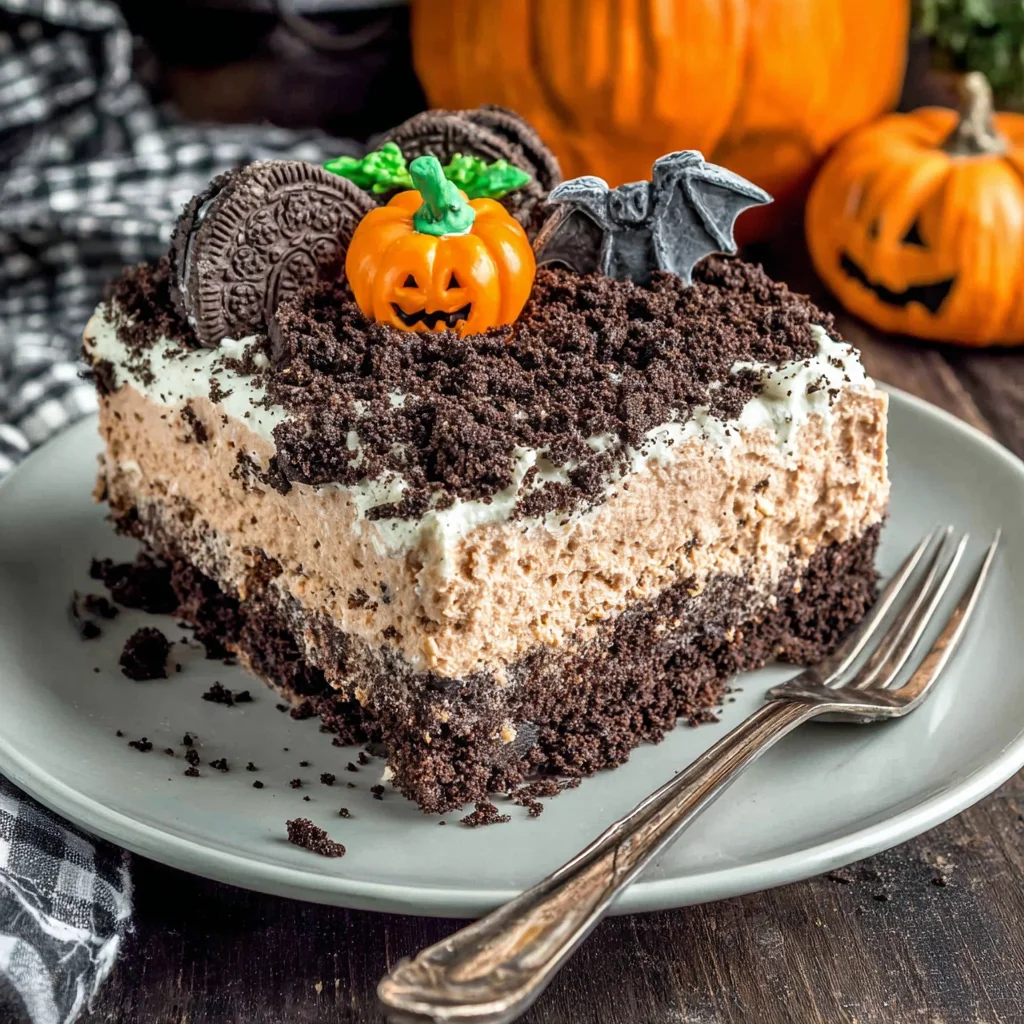
This Halloween Dirt Cake recipe isn’t just a dessert; it’s an experience. It’s the perfect blend of simple preparation and impressive presentation. The visual appeal alone is enough to wow your guests, transforming a simple dessert into a conversation starter. Imagine the delighted gasps as you unveil this creepy-crawly creation, layered with dark, rich chocolate pudding and a crumbly soil of crushed Oreo cookies. The gummy worms, peeking out from the top layer, add a playful touch of fright, perfectly embodying the spirit of Halloween. But beyond the looks, the taste is equally captivating. The creamy chocolate pudding contrasts beautifully with the crunchy cookie “dirt,” creating a delightful textural experience that will keep everyone coming back for more. It’s a dessert that satisfies both sweet cravings and the need for a visually engaging treat, making it ideal for any Halloween gathering, large or small.
What’s more, this Halloween Dirt Cake is incredibly adaptable to different preferences and dietary needs. Want a vegan version? Simply swap out the traditional ingredients for their vegan counterparts. Looking for a gluten-free option? Choose gluten-free chocolate cookies and pudding mix. The flexibility of this recipe makes it a perfect choice for diverse groups and accommodating individual preferences. Making this Halloween Dirt Cake isn’t just about the final product; it’s about the fun and engaging process of creating something unique and special. It’s a perfect activity to involve the whole family in, creating lasting memories alongside delicious treats. The simplicity of the recipe allows even novice bakers to feel confident in creating something truly impressive, boosting their confidence and creativity in the kitchen. The end result? A deliciously spooky treat that leaves everyone impressed and satisfied.
Why You Should Try This Halloween Dirt Cake Recipe
In a world of complex and time-consuming desserts, this Halloween Dirt Cake recipe offers a refreshing simplicity. Its no-bake nature is a major advantage, eliminating the need for an oven and reducing preparation time significantly. This means you can spend less time in the kitchen and more time enjoying the Halloween festivities with friends and family. This Halloween Dirt Cake is not only easy but also incredibly budget-friendly. The ingredients are readily available and relatively inexpensive, making it a cost-effective dessert option for any gathering. This makes it an excellent choice for large parties or gatherings where catering for many guests can often be expensive.
Beyond its ease and affordability, this Halloween Dirt Cake is highly customizable. Feel free to experiment with different cookie types for the “dirt,” add other Halloween-themed candies for extra spookiness, or even use different types of pudding to change the flavor profile. This flexibility allows you to make the Halloween Dirt Cake your own, reflecting your unique style and preferences. The unique presentation of the Halloween Dirt Cake itself adds another layer of appeal. It’s a guaranteed conversation starter, adding a fun and interactive element to your Halloween celebrations. The visual appeal, combined with the delicious flavors, makes it a truly memorable dessert, setting it apart from the usual Halloween treats. And most importantly, this Halloween Dirt Cake is guaranteed to be a crowd-pleaser. Its delicious flavors and engaging presentation will satisfy even the most discerning palates, creating a lasting impression on your guests. It’s a dessert that transcends age, making it the perfect addition to your Halloween party.
Ingredients and Necessary Utensils for Your Halloween Dirt Cake
Gathering the right ingredients and utensils is crucial for the successful creation of your Halloween Dirt Cake. Below is a detailed list of everything you’ll need:
Ingredients:
- For the “Dirt”:
- 1 package (18 ounces) chocolate sandwich cookies, finely crushed (about 4 cups): Oreos are a classic choice, but feel free to experiment! Check out our other no-bake ideas!
- ½ cup unsweetened cocoa powder: This enhances the chocolate flavor and darkens the “dirt.” Look for a high-quality cocoa powder for the best results.
- ½ cup milk: Use whole milk for extra richness, or your preferred milk alternative for a vegan version.
- ¼ cup vegetable oil: Helps bind the “dirt” mixture.
- For the “Worms”:
- 1 package (3 ounces) gummy worms: The star of the show! Choose your favorite brand and color.
- For the Pudding:
- 1 (3.4 ounce) package instant chocolate pudding mix: Choose your favorite brand. Make sure it’s the instant variety for easy preparation.
- 2 cups cold milk: Use cold milk to ensure the pudding sets properly. Again, milk alternatives can be used for a vegan version.
- For the “Grass” (Optional):
- 1 cup crushed green cookies (e.g., green-colored Oreos or other similar cookies): Adds a festive touch to your Halloween Dirt Cake.
Recommended Tools and Utensils:
- Large mixing bowls (at least two): For preparing the “dirt” and pudding separately.
- Whisk: For smoothly mixing the pudding.
- Measuring cups and spoons: For accurate ingredient measurements.
- Food processor or zip-top bag and rolling pin: For crushing the cookies. A food processor makes quick work of this, but a bag and rolling pin work just fine.
- Individual serving glasses or a large trifle bowl: For assembling the layered cake.
- Spatula or spoon: For layering the ingredients neatly.
- Refrigerator: To chill the cake and allow the pudding to set.
Detailed Recipe Steps for Making Your Spooky Halloween Dirt Cake
Let’s create some Halloween magic in the kitchen with step-by-step instructions to make your Halloween Dirt Cake:
Step 1: Preparing the “Dirt”
Crush the chocolate sandwich cookies into fine crumbs. A food processor is the fastest method, but you can also place the cookies in a zip-top bag and crush them with a rolling pin. Aim for a fairly consistent crumb consistency. In a large bowl, combine the crushed cookies, cocoa powder, milk, and vegetable oil. Mix well until a moist, crumbly mixture forms. **The consistency should resemble moist soil.** If it’s too dry, add a tablespoon of milk at a time until you reach the desired consistency. Set the “dirt” mixture aside.
Step 2: Preparing the Chocolate Pudding
In a separate large bowl, whisk together the chocolate pudding mix and cold milk for 2 minutes until smooth and creamy. **Ensure there are no lumps.** Let the pudding stand for 5 minutes to allow it to begin to thicken slightly. This will help create distinct layers in your Halloween Dirt Cake.
Step 3: Assembling the Halloween Dirt Cake
In individual serving glasses or a large trifle bowl, layer the ingredients. **Start with a layer of the chocolate pudding.** Then, top with a layer of the “dirt” mixture. Repeat the layers, ending with a layer of “dirt.” The number of layers depends on the size of your serving glasses or bowl. Aim for at least two layers of each for a visually appealing result.
Step 4: Adding the Gummy Worms
Gently press the gummy worms into the top layer of “dirt.” **Arrange them to look like worms crawling in the soil.** This is the fun part! Get creative and have fun arranging your gummy worms.
Step 5: Adding the “Grass” (Optional)
If desired, sprinkle the crushed green cookies around the edges of the glasses or bowl to resemble grass. This adds a final touch of Halloween festivity to your creation. **Use sparingly to avoid overwhelming the other layers.**
Step 6: Chilling the Halloween Dirt Cake
Refrigerate the Halloween Dirt Cake for at least 30 minutes to allow the pudding to fully set and the flavors to meld together. **Chilling improves the texture and taste significantly.** You can chill it for longer if you prefer a firmer pudding layer.
Step 7: Serving and Enjoying Your Halloween Dirt Cake
Once chilled, serve and enjoy your spooktacular Halloween Dirt Cake! It’s a perfect dessert for sharing with friends and family. This Halloween Dirt Cake tastes best when served chilled. Enjoy the fun and deliciousness of this festive dessert!
Tips and Variations for Your Halloween Dirt Cake
To elevate your Halloween Dirt Cake experience, here are some tips and variations to try:
- Cookie Variations: Experiment with different types of chocolate cookies, or even use a combination for added texture and flavor. Graham crackers can also add a delightful crunch.
- Vegan Adaptation: Substitute the milk with a plant-based milk like almond or soy milk, and use vegan chocolate pudding mix and vegan chocolate cookies.
- Gluten-Free Version: Use gluten-free chocolate cookies and a gluten-free chocolate pudding mix.
- Candy Additions: Add other Halloween-themed candies, like mini chocolate chips, sprinkles, or candy corn, to the “dirt” for extra flair.
- Layered Flavor: Consider adding a layer of crushed Oreos or chocolate sandwich cookies at the bottom for added texture and flavor.
- Pudding Alternatives: Instead of chocolate pudding, try other flavors like vanilla or even pumpkin pudding for a unique twist.
- Presentation: Use festive Halloween-themed serving glasses or a trifle bowl for a more visually appealing presentation. You can even add spooky decorations like plastic spiders or eyeballs to enhance the Halloween theme.
- Avoid Overmixing: Overmixing the “dirt” can make it too dense and less crumbly. Mix until just combined.
- Don’t Overchill: While chilling is important, over-chilling can make the pudding too firm. Aim for a creamy yet set pudding layer.
Nutritional Values and Benefits of Halloween Dirt Cake Ingredients
While a Halloween Dirt Cake is undeniably a treat, let’s take a look at the nutritional aspects of its components:
This recipe relies heavily on processed ingredients, so it’s not a health food. However, some of the ingredients do have nutritional value: Chocolate contains antioxidants, and milk provides calcium. The cookies provide carbohydrates for energy. However, the high sugar and fat content should be considered. A single serving of this Halloween Dirt Cake is likely high in calories, sugar, and fat due to the cookies and pudding mix. It’s best enjoyed in moderation as part of a balanced diet.
It’s important to note that the exact nutritional values will vary depending on the specific brands and types of ingredients used. For precise nutritional information, use a nutrition calculator and input the specific brands of your chosen cookies and pudding mix. This will provide a more accurate representation of the nutritional content of your specific Halloween Dirt Cake.
FAQs about Halloween Dirt Cake
How long does Halloween Dirt Cake need to chill?
Can I make this Halloween Dirt Cake ahead of time?
What kind of cookies can I use for the “dirt”?
Is this Halloween Dirt Cake recipe gluten-free?
Can I use other candies besides gummy worms?
Conclusion: A Spooky Delight Awaits!
This Halloween Dirt Cake recipe is more than just a dessert; it’s a fun, easy, and delicious way to celebrate the spooky season. Its no-bake nature, customizable ingredients, and impressive presentation make it a perfect choice for Halloween parties and gatherings. We hope you enjoyed this detailed guide on how to create this spooktacular treat! Remember to share your creations with us using #HalloweenDirtCake on social media. We can’t wait to see your delicious versions! Don’t forget to leave a comment below and let us know what you think. Happy Halloween baking, and enjoy your deliciously spooky Halloween Dirt Cake!
Looking for more delicious Halloween treats? Check out our Halloween Brownies recipe for a frightfully delicious addition to your spooky spread! Or, for another no-bake option, try our Halloween Dirt Cake recipe for a fun and easy dessert!
Spooky Halloween Dirt Cake
Ingredients
Equipment
Method
- Crush chocolate sandwich cookies into fine crumbs. You can use a food processor or a zip-top bag and a rolling pin.
- In a large bowl, combine the crushed cookies, cocoa powder, milk, and vegetable oil. Mix until a moist, crumbly mixture forms. Set aside.
- In a separate bowl, whisk together the chocolate pudding mix and cold milk until smooth and creamy. Let stand for 5 minutes to thicken slightly.
- Layer the pudding and “dirt” mixture in individual serving glasses or a large trifle bowl, starting and ending with a layer of dirt.
- Gently press gummy worms into the top layer of dirt.
- If desired, sprinkle crushed green cookies around the edges to resemble grass.
- Refrigerate for at least 30 minutes before serving to allow the pudding to set.


