Mulberry jam, a vibrant jewel of summer’s bounty, transforms the delicate sweetness of mulberries into a luscious spread perfect for toast, scones, or even as a glaze for meats. This recipe captures the essence of fresh, ripe mulberries, preserving their unique flavour and creating a jam that is both intensely fruity and subtly tart. Imagine the rich, deep purple color glistening on your morning toast, the burst of juicy sweetness dancing on your tongue – that’s the magic of homemade mulberry jam. Unlike store-bought jams often laden with added sugar and preservatives, this recipe prioritizes the natural sweetness of the fruit, allowing its unique character to shine. It’s a recipe that celebrates the simplicity of fresh ingredients and the rewarding process of transforming nature’s gifts into something truly special. From the initial gathering of plump, ripe mulberries to the final jar filled with glistening perfection, making mulberry jam is a journey that engages all your senses, and the results are undeniably worth the effort. This recipe will guide you step-by-step, ensuring even novice jam makers achieve a delicious, homemade preserve to enjoy throughout the year. So, let’s get started on this delicious adventure!
Why You’ll Love This Mulberry Jam Recipe
This mulberry jam recipe isn’t just about creating a delicious spread; it’s about capturing the essence of summer in a jar. There’s something incredibly rewarding about transforming fresh, seasonal fruit into something you can savor long after the season has passed. Here’s why you’ll fall in love with this recipe:
- Unparalleled Flavor: The jam’s intense mulberry flavor is unparalleled. We focus on bringing out the natural sweetness and tartness of the mulberries, avoiding overpowering artificial flavors.
- Simplicity: This recipe is surprisingly simple, even for beginner jam-makers. The process is straightforward and requires minimal specialized equipment.
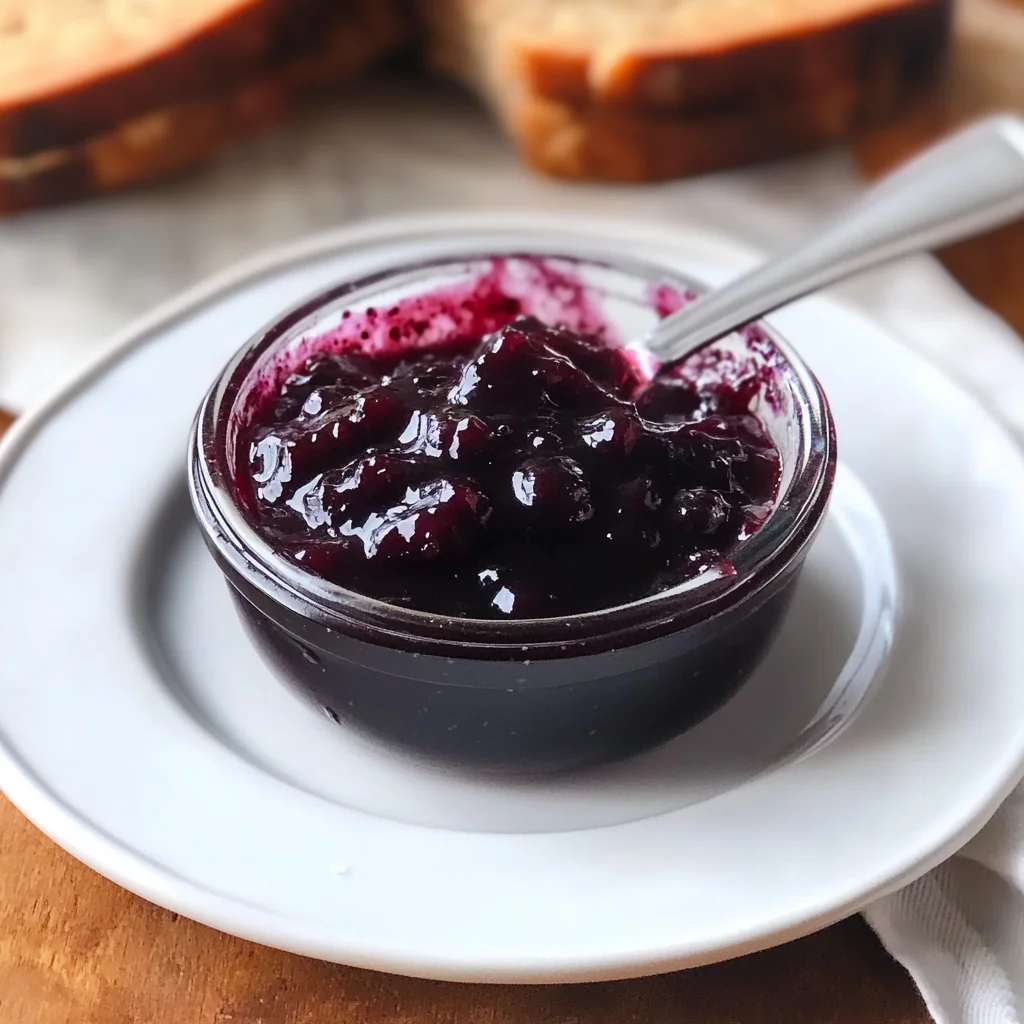
- Versatility: This mulberry jam is incredibly versatile. Spread it on toast, biscuits, scones, use it as a filling for pastries, or even as a unique glaze for grilled meats or cheeses. The possibilities are endless!
- Homemade Goodness: Knowing exactly what goes into your jam is priceless. This recipe allows you to control the sugar content and avoid artificial preservatives, ensuring a healthier and more flavorful spread.
- Gifting Potential: This homemade mulberry jam makes a thoughtful and delicious gift for friends and family. The beautiful purple color and rich flavor are sure to impress.
- Cost-Effective: Making your own jam is often cheaper than buying it in stores, especially when using seasonal, locally sourced mulberries.
Why You Should Try This Mulberry Jam Recipe
In a world of mass-produced jams and preserves, there’s a special satisfaction in crafting something homemade. This mulberry jam recipe offers more than just a delicious spread; it provides an experience. Here are compelling reasons to try it:
- Experience the magic of preserving: Making jam is a rewarding process. It connects you to the seasons, allowing you to transform fresh produce into something lasting. This recipe makes it accessible and enjoyable for everyone.
- Superior Taste and Quality: Homemade jam always tastes better! The fresh, intense mulberry flavor, combined with the controlled sugar content, results in a superior taste experience.
- Control over Ingredients: You are in charge! You decide on the sugar content, and can even experiment with adding spices or other flavourings to create your perfect jam.
- A Great Family Activity: Jam making can be a fun and educational activity to do with children. It teaches them about food preparation, preserving, and the importance of seasonal eating.
- Impress your friends and family: Sharing homemade mulberry jam is a wonderful way to show care and impress guests with your culinary skills. The beautiful color and unique flavor will undoubtedly be a conversation starter.
- A Sustainable Choice: Making your own jam reduces food waste, supports local farmers (if using locally-sourced mulberries), and minimizes your environmental impact compared to buying store-bought products.
Ingredients and Necessary Utensils for Mulberry Jam
Ingredients:
- 4 pounds ripe mulberries, washed and stems removed (approx 1.8 kg)
- 3 cups granulated sugar (600g) – Adjust to your preference; you may need more or less depending on the sweetness of your mulberries.
- 1/4 cup lemon juice (approx 60ml) – This helps to set the jam and enhances the flavor. Use freshly squeezed for the best results.
- 1/2 teaspoon lemon zest (optional) – Adds a zesty note.
- 1/4 teaspoon pectin (optional) – This helps the jam set more quickly and firmly, especially if your mulberries aren’t particularly high in pectin naturally. If using, choose liquid pectin and follow package directions
Utensils:
- Large, heavy-bottomed saucepan (at least 8 quarts/7.5 liters) – This prevents scorching.
- Wooden spoon or spatula – For stirring. Avoid metal utensils which can scratch the pan.
- Ladle – For transferring the jam.
- Measuring cups and spoons – For accurate measurements.
- Canning jars (half-pint or pint size) – Sterilize these thoroughly before using. Refer to safe canning practices here for more info on safe canning
- Jar lifter – To safely remove hot jars from boiling water.
- Large bowl – For washing mulberries.
- Colander – For draining mulberries after washing.
- Clean cloths or paper towels – For wiping the rims of jars.
- Jelly thermometer – Essential for accurate jam-making, ensures proper setting.
Detailed Recipe Steps for Making Mulberry Jam
Follow these steps carefully to create perfect mulberry jam:
- Prepare the Mulberries: Wash the mulberries thoroughly in a large bowl of cool water. Remove any stems or leaves and drain them well in a colander.
- Combine Ingredients: In your heavy-bottomed saucepan, gently combine the washed mulberries, sugar, lemon juice and lemon zest (if using). Let this mixture sit for at least 30 minutes, or even longer – up to a few hours – to allow the sugar to draw out the juices from the mulberries. This will help the jam set better.
- Cook the Jam: Place the saucepan over medium heat. Stirring frequently with a wooden spoon, bring the mixture to a gentle boil. **Avoid high heat** to prevent burning.
- Simmer and Stir: Once boiling, reduce the heat to a low simmer. Continue stirring frequently to prevent sticking and burning. **This is crucial!** The jam needs to simmer for a period, allowing the fruit to break down and the sugar to dissolve completely.
- Check the Setting Point: Use a jelly thermometer to check for the setting point. This is typically reached when the jam reaches 220°F (104°C). You can also perform the wrinkle test: place a small spoonful of jam on a chilled plate; let it cool for a minute, then push it with your finger. If the surface wrinkles, your jam is ready.
- Prepare the Jars: While the jam is simmering, sterilize your canning jars and lids by boiling them in water for 10 minutes. Keep them in the hot water until ready to use.
- Fill the Jars: Carefully ladle the hot jam into the sterilized jars, leaving about 1/4 inch headspace at the top. Wipe the rims of the jars clean with a damp cloth to ensure a good seal.
- Seal the Jars: Place the lids and rings on the jars and tighten them fingertip tight. Do not overtighten.
- Process the Jars (Optional): For longer shelf life, process the filled jars in a boiling water bath for 10 minutes. This helps create a vacuum seal. Consult a reliable canning resource for accurate processing times based on your altitude.
- Cool and Store: Let the jars cool completely. You should hear a “pop” sound as the jars seal. Check the seals by pressing down on the center of the lid – if it doesn’t flex, it’s sealed properly. Store your mulberry jam in a cool, dark, and dry place.
Tips and Variations for Mulberry Jam
Here are some extra tips to ensure your mulberry jam is a success and explore some tasty variations:
- Adjust Sugar Content: The amount of sugar can be adjusted based on the sweetness of your mulberries. Taste the jam frequently as it simmers, and add more sugar if needed.
- Add Spices: Experiment with adding spices like cinnamon, cloves, or star anise for a unique twist. A pinch of cardamom can also create a warm, aromatic flavor.
- Use Different Sweeteners: For a healthier option, try using a combination of sugar and honey or maple syrup. Remember that these sweeteners may affect the setting point of your jam.
- Vegan Mulberry Jam: To make a vegan mulberry jam, ensure you use a vegan pectin option, if using any.
- Avoid Overcooking: Overcooked jam can become too thick and lose its flavor. Carefully monitor the jam during the simmering process and remove from heat once it reaches the setting point.
- Proper Jar Sterilization: Always sterilize your jars and lids thoroughly to prevent spoilage. This is crucial for the safety and longevity of your jam. Don’t skip this step!
Nutritional Values and Benefits of Mulberry Jam
While mulberry jam is a treat, it does offer some nutritional benefits thanks to the mulberries themselves. The nutritional values will vary slightly depending on the amount of added sugar:
(Note: These are approximate values and may vary based on the specific recipe and ingredients used. For precise nutritional information, use a nutrition calculator with your exact ingredients.)
- Antioxidants: Mulberries are rich in antioxidants, which help protect your cells from damage caused by free radicals.
- Vitamins: They are a good source of Vitamin C, Vitamin K, and various B vitamins.
- Minerals: Mulberries provide minerals like iron, manganese, and potassium.
- Fiber: Mulberries contain dietary fiber, which aids digestion.
However, remember that the added sugar significantly increases the calorie and carbohydrate content of the jam. Enjoy it in moderation as part of a balanced diet.
FAQ: Common Questions About Mulberry Jam
Here are answers to some frequently asked questions about making mulberry jam:
- Q: What if my jam doesn’t set? A: This can happen due to insufficient pectin in the mulberries or not reaching the proper setting point. If you didn’t use pectin, you might need to add more sugar or a commercial pectin product, and then reheat the mixture to the setting point.
- Q: My jam is too runny. What should I do? A: You may need to cook it for a longer time to evaporate more moisture. Be sure to monitor it closely to avoid burning.
- Q: My jam is too thick. How do I fix it? A: Add a tablespoon or two of water and gently stir, then return it to the simmer and stir until it achieves your preferred consistency.
- Q: How long will my mulberry jam last? A: Properly canned and stored jam can last for a year or more. Always check the seal before consuming.
- Q: Can I freeze mulberry jam? A: Yes, you can freeze mulberry jam. Freeze it in freezer-safe containers or bags, leaving some headspace to allow for expansion.
- Q: Where can I find mulberries? A: Mulberries are usually seasonal. Check local farmers markets, pick-your-own farms, or even some grocery stores during their peak season. Learn more about mulberries on Wikipedia.
Conclusion: Enjoy Your Homemade Mulberry Jam!
Making your own mulberry jam is a rewarding experience, connecting you to the simple pleasures of seasonal ingredients and the art of preserving. This recipe guides you through every step, ensuring a delicious, flavorful jam perfect for spreading on toast, using in baking, or gifting to loved ones. Remember to follow the tips, adjust the sweetness to your preference, and most importantly, enjoy the process! Share your experience in the comments below, and let us know how your homemade mulberry jam turned out. Don’t forget to share this recipe with friends and family who also love homemade goodness! Happy Jamming!
Sweet Mulberry Jam
Ingredients
Equipment
Method
- Combine mulberries, sugar, lemon juice, water, salt, and pectin (if using) in a large saucepan.
- Bring mixture to a rolling boil over medium-high heat, stirring constantly.
- Reduce heat to medium-low and continue to boil for 10-15 minutes, or until the jam reaches setting point (a small amount dropped onto a chilled plate wrinkles when pushed with a finger).
- Remove from heat and skim off any foam.
- Ladle the hot jam into sterilized jars, leaving about 1/4 inch headspace.
- Wipe the jar rims clean, seal with lids, and process in a boiling water bath for 10 minutes.
- Remove jars from the water bath and let cool completely. Check seals by pressing down on the center of each lid – if it doesn't flex, it's sealed.


