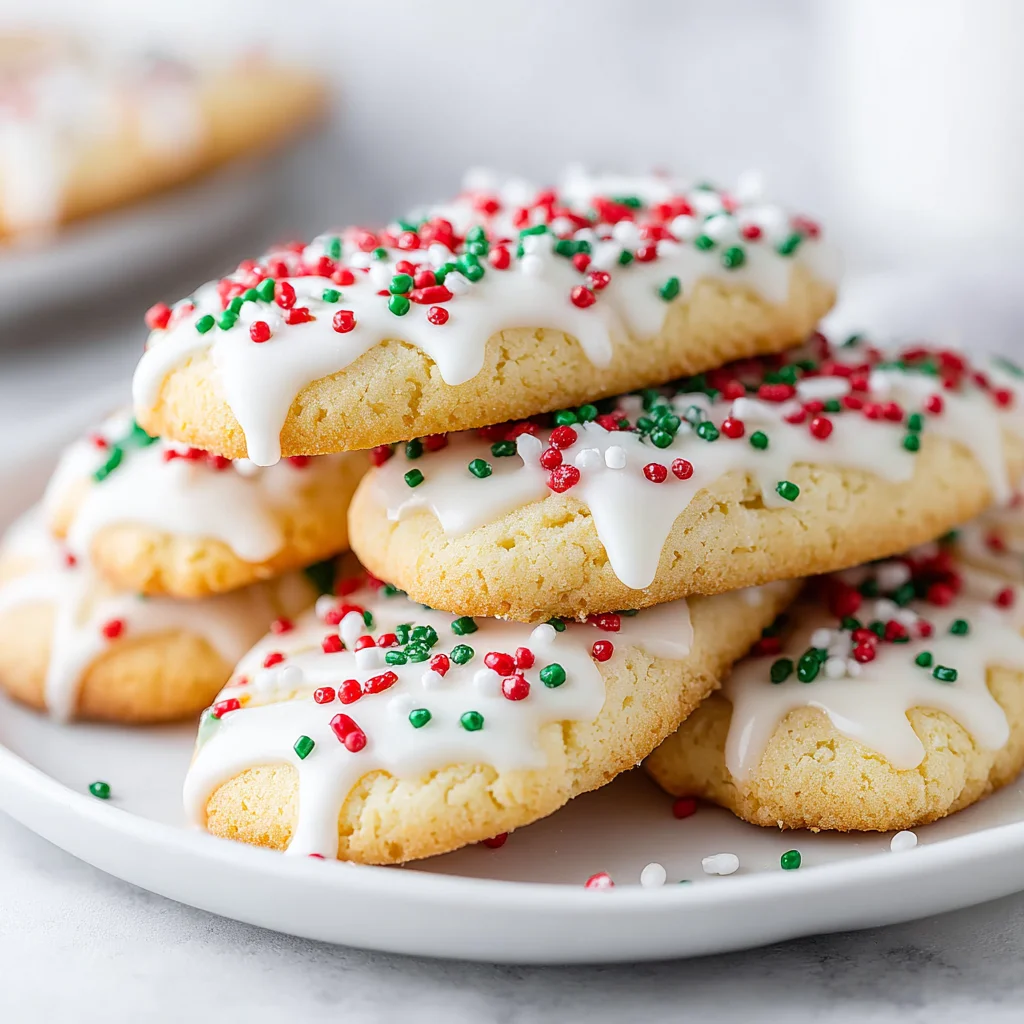
The aroma of warm spices, the delicate crunch, the sweet taste of tradition – these are the hallmarks of Biscotti di Natale, Italian Christmas Cookies. These twice-baked delights are a cherished part of Italian holiday celebrations, passed down through generations and enjoyed with family and friends. More than just a cookie, they’re a symbol of warmth, togetherness, and the joy of the festive season. This recipe brings you a classic version of these iconic cookies, perfect for sharing during the holidays or simply savoring a taste of Italy throughout December. Prepare to be transported to a cozy Italian kitchen, filled with the sweet scents of Christmas, as you bake these delightful treats. Whether you’re a seasoned baker or a holiday baking novice, this recipe will guide you through every step, ensuring a successful and delicious result. Get ready to embark on a culinary adventure with these truly unforgettable Italian Christmas Cookies!
Why You’ll Love This Recipe
These Italian Christmas cookies are more than just a festive treat; they’re an experience. What sets this recipe apart, and why you’ll absolutely adore it, is the perfect balance of simplicity and sophistication. The ingredients are readily available, making it a breeze to whip up a batch even during the busy holiday season. Yet, the result is far from ordinary. The twice-baking process creates a uniquely crisp exterior with a delightfully chewy interior, a texture that’s both satisfying and addictive. This recipe isn’t just about the taste; it’s about the process. The act of rolling the dough into logs, the anticipation as they bake, the satisfying *crack* as you slice them, and finally, the golden-brown perfection of the finished cookies – it’s a truly rewarding baking journey. Moreover, the optional additions of candied fruit and nuts allow you to personalize these cookies, making them your own and adding a burst of festive flavor. Whether you’re a purist or prefer a little extra flair, this recipe caters to your preferences. The beautiful, rustic look of these cookies also makes them perfect for gifting – a thoughtful homemade present that shows you care. They’ll be a guaranteed hit with anyone who receives them. You’ll find yourself reaching for these delicious Italian Christmas Cookies again and again, not just during the holidays, but throughout the year.
Why You Should Try This Recipe
Beyond their undeniable deliciousness, these Italian Christmas cookies offer numerous reasons to try your hand at this recipe. First and foremost, they’re incredibly versatile. The basic recipe is simple and straightforward, yet incredibly adaptable to your taste. Want to add a hint of citrus zest? Go for it! Prefer a nuttier flavor profile? Toss in some chopped pecans or pistachios. Feeling adventurous? Experiment with different types of candied fruit. The possibilities are endless! Secondly, these cookies are incredibly impressive. They look beautiful, with their rustic, slightly uneven shape and charmingly golden hue. They’re perfect for impressing guests during the holiday season, offering a touch of elegance without the fuss of complicated baking techniques. Moreover, the twice-baked nature of these cookies means they have an extended shelf life, making them ideal for making ahead of time and enjoying throughout the festive season. This allows you to enjoy the process of baking without the stress of last-minute preparation. Finally, making these Italian Christmas cookies is a fantastic opportunity to involve your family or friends in the holiday spirit. It’s a wonderful way to share the joy of baking and create lasting memories. This recipe is a testament to the simple pleasures of homemade treats and the joy of sharing them with loved ones.
Ingredients and Necessary Utensils
Making perfect Italian Christmas Cookies requires both the right ingredients and the right tools. Let’s delve into the specifics, ensuring you have everything you need for baking success.
Detailed List of Ingredients with Precise Quantities
- Unsalted Butter: 1 cup (2 sticks), softened. Using softened butter ensures a smooth and creamy dough.
- Granulated Sugar: 1 ½ cups. Provides sweetness and helps create a tender crumb.
- Large Eggs: 4. Bind the ingredients and add richness.
- Vanilla Extract: 1 teaspoon. Enhances the flavor with a warm, comforting note.
- All-Purpose Flour: 5 cups. The structural base of the cookies. Using a kitchen scale for accuracy is recommended.
- Baking Powder: 1 teaspoon. Helps the cookies rise slightly.
- Salt: ½ teaspoon. Enhances the flavors of the other ingredients.
- Candied Fruit (optional): ½ cup, chopped. Adds sweetness and a festive touch. Orange and citron are traditional choices.
- Chopped Nuts (optional): ½ cup. Adds texture and flavor. Almonds, walnuts, and pecans all work well.
- Powdered Sugar: For dusting. Adds a touch of elegance and sweetness.
Recommended Tools or Utensils for Recipe Success
- Electric Mixer: A stand mixer or hand mixer is highly recommended for creaming the butter and sugar.
- Large Bowls (at least two): One for creaming the butter and sugar, and another for combining the dry ingredients.
- Whisk: For smoothly combining the dry ingredients.
- Measuring Cups and Spoons: For accurate measurements.
- Baking Sheets (two): To bake the cookie logs and the sliced cookies.
- Parchment Paper: Prevents sticking and makes cleanup easier.
- Rolling Pin: To shape the dough into logs.
- Sharp Knife or Serrated Knife: For cleanly slicing the baked logs.
- Wire Rack: For cooling the cookies completely.
- Sifter (optional): For extra-fluffy cookies, sift the flour before measuring.
Detailed Recipe Steps
Now, let’s embark on the baking journey. Follow these steps carefully for perfectly crisp and delicious Italian Christmas Cookies.
- Preheat & Prep: Preheat your oven to 350°F (175°C). **This is crucial for even baking.** Line two baking sheets with parchment paper. This prevents sticking and ensures easy cleanup.
- Cream Butter & Sugar: In a large bowl, cream together the softened butter and sugar until light and fluffy. **Use an electric mixer for best results.** This process incorporates air into the dough, leading to lighter and more tender cookies.
- Add Eggs & Vanilla: Beat in the eggs one at a time, then stir in the vanilla extract. **Beat well after each egg to ensure proper incorporation.** This creates a smooth and well-emulsified batter.
- Combine Dry Ingredients: In a separate bowl, whisk together the flour, baking powder, and salt. **Whisk thoroughly to prevent lumps.** This ensures that the leavening agent is evenly distributed.
- Combine Wet & Dry: Gradually add the dry ingredients to the wet ingredients, mixing until just combined. **Be careful not to overmix.** Overmixing develops the gluten in the flour, resulting in tough cookies.
- Add Mix-ins (Optional): Stir in the candied fruit and nuts, if using. **Gently fold them in to avoid breaking up the fruit or nuts.**
- Shape the Dough: Divide the dough in half. On a lightly floured surface, roll each half into a long log, about 1 ½ inches in diameter. **Ensure the logs are relatively uniform in size for even baking.**
- Bake: Place the logs onto the prepared baking sheets, leaving some space between them. Bake for 25-30 minutes, or until lightly golden brown. **Keep an eye on them to avoid over-browning.**
- Cool & Slice: Let the logs cool on the baking sheets for 10-15 minutes before transferring them to a wire rack to cool completely. Once cool, slice the logs diagonally into ½-inch thick slices. **Use a sharp knife for clean cuts.**
- Second Bake: Arrange the slices cut-side down on the baking sheets. Bake for another 8-10 minutes, or until lightly golden and crisp. **The second bake crisps the cookies and develops their signature texture.**
- Cool & Dust: Let the cookies cool completely on the wire rack. Once cool, dust with powdered sugar. **Dusting with powdered sugar adds a final touch of sweetness and elegance.**
Tips and Variations
Mastering the art of Italian Christmas Cookies involves understanding a few key tips and exploring creative variations.
Tips for Success:
- Don’t overmix the dough; this can lead to tough cookies.
- Ensure the logs are evenly shaped for consistent baking.
- Let the cookies cool completely before dusting with powdered sugar.
- Store the cookies in an airtight container at room temperature for up to a week.
- Experiment with different types of nuts and candied fruits to customize the flavor.
Variations:
- Vegan Biscotti: Replace butter with vegan butter and eggs with flax eggs (1 tablespoon flaxseed meal mixed with 3 tablespoons water per egg).
- Gluten-Free Biscotti: Substitute all-purpose flour with a gluten-free blend.
- Spiced Biscotti: Add 1 teaspoon of cinnamon, ½ teaspoon of nutmeg, and ¼ teaspoon of cloves to the dry ingredients.
- Chocolate Biscotti: Add ½ cup of chocolate chips to the dough.
- Lemon Biscotti: Add the zest of one lemon to the dough.
Nutritional Values and Benefits
While these cookies are undeniably indulgent, understanding their nutritional profile can help you enjoy them mindfully. A serving size of approximately 2-3 cookies (depending on size) will provide a moderate amount of calories, primarily from fat and carbohydrates. The exact nutritional values will vary depending on the specific ingredients used and portion size. However, we can highlight some key nutritional aspects.
Butter: Provides richness and flavor but is high in saturated fat. Choose unsalted butter to control sodium intake. See more recipes for healthy alternatives.
Eggs: A good source of protein and essential nutrients.
Flour: Provides carbohydrates for energy. All-purpose flour is a refined grain; consider whole wheat flour for added fiber (adjust liquid as needed).
Nuts (if added): Offer healthy fats, fiber, and protein. Almonds, walnuts, and pecans are especially rich in nutrients.
Candied Fruit (if added): Adds sweetness, but also contains added sugars. Moderation is key.
FAQs
How long do Italian Christmas cookies last?
Can I freeze Italian Christmas cookies?
What are some good alternatives to candied fruit in Italian Christmas cookies?
Are Italian Christmas cookies gluten-free?
Why are my Italian Christmas cookies too hard?
Conclusion
These Italian Christmas cookies, Biscotti di Natale, are more than just a recipe; they’re a tradition, a taste of Italy, and a symbol of the holiday season. By following this detailed guide, you can create these delightful twice-baked treats, perfect for sharing with loved ones or indulging in yourself. Remember the key to success lies in using softened butter, not overmixing the dough, and ensuring proper baking times. Don’t be afraid to experiment with different flavor combinations to create your unique version of this cherished classic. Now that you’ve mastered the art of making Italian Christmas Cookies, we encourage you to share your baking experience in the comments below! Share your photos on social media using #ItalianChristmasCookies and tag us! Happy baking, and Buon Natale!
Italian Christmas Cookies (Biscotti di Natale)
Ingredients
Equipment
Method
- Preheat oven to 350°F (175°C). Line two baking sheets with parchment paper.
- Cream together the softened butter and sugar until light and fluffy using an electric mixer.
- Beat in the eggs one at a time, then stir in the vanilla extract.
- In a separate bowl, whisk together the flour, baking powder, and salt. Gradually add the dry ingredients to the wet ingredients, mixing until just combined. Do not overmix.
- Stir in the candied fruit and nuts, if using.
- Divide the dough in half. On a lightly floured surface, roll each half into a long log, about 1 ½ inches in diameter. Place the logs onto the prepared baking sheets, leaving some space between them. Bake for 25-30 minutes, or until lightly golden brown.
- Let the logs cool on the baking sheets for 10-15 minutes before transferring them to a wire rack to cool completely. Once cool, slice the logs diagonally into ½-inch thick slices.
- Arrange the slices cut-side down on the baking sheets. Bake for another 8-10 minutes, or until lightly golden and crisp. Let the cookies cool completely on the wire rack. Once cool, dust with powdered sugar.


