Table of Contents
Are you ready to bake the most incredible loaf of honey wheat bread you’ve ever tasted? This recipe is your golden ticket to perfectly golden-brown, subtly sweet, and wonderfully textured bread, perfect for sandwiches, toast, or simply enjoyed on its own. Forget store-bought bread; this Honey Wheat Bread recipe will elevate your baking game and leave you with a loaf that’s as delicious as it is satisfying. From the first delightful sniff of the baking bread to the last crumb, this recipe is designed to bring you joy. This isn’t just another bread recipe; it’s a journey to baking mastery.
Why You’ll Love This Honey Wheat Bread Recipe
This Honey Wheat Bread recipe isn’t just about achieving a perfectly baked loaf; it’s about the experience. Imagine the aroma filling your kitchen, the warmth radiating from the oven, and the sheer satisfaction of creating something delicious from scratch. This recipe offers a rewarding experience for bakers of all skill levels. The subtle sweetness of honey complements the hearty whole wheat flour beautifully, creating a balanced flavor profile that’s both comforting and sophisticated. It’s a recipe that’s easy to follow, forgiving of minor mistakes, and consistently delivers exceptional results. The beautiful golden-brown crust gives way to a soft, fluffy interior, making every slice a delightful experience.
Beyond the incredible taste and texture, this recipe is remarkably versatile. You can easily adapt it to suit your preferences, adding nuts, seeds, or dried fruits for extra flavor and texture. It’s also a great base for experimenting with different types of honey, allowing you to discover your favorite flavor combinations. This recipe is a blank canvas for your culinary creativity.
Most importantly, this Honey Wheat Bread recipe connects you to the simple pleasures of homemade baking. It’s a recipe that’s both satisfying and rewarding, allowing you to create something delicious to share with loved ones or simply savor on your own. The process itself is therapeutic, allowing you to disconnect from the stresses of daily life and focus on the simple act of creating something beautiful.
Why You Should Try This Honey Wheat Bread Recipe
In a world of processed foods and convenience, there’s something truly special about baking your own bread. This Honey Wheat Bread recipe isn’t just about convenience; it’s about quality, control, and the undeniable satisfaction of creating something delicious from scratch. You get to choose the ingredients, ensuring the highest quality and freshness in every slice. You can control the sweetness, the texture, and the overall flavor profile to perfectly suit your taste.
Moreover, homemade bread is simply healthier than store-bought alternatives. You can control the ingredients, avoiding unnecessary additives, preservatives, and excessive sugars often found in commercially produced bread. This Honey Wheat Bread recipe allows you to nourish yourself and your family with wholesome, delicious bread made with simple, high-quality ingredients.
Finally, learning to bake bread like this is a valuable life skill. It’s a rewarding process that opens up a world of culinary possibilities. Once you master this Honey Wheat Bread recipe, you’ll be confident in tackling more complex baking projects and enjoying the countless benefits of homemade goodness. It’s an investment in your culinary skills that will pay dividends for years to come. And honestly, nothing beats the smell of freshly baked bread in your home!
Ingredients and Necessary Equipment for Your Honey Wheat Bread Recipe
Gathering the right ingredients and equipment is crucial for baking success. This Honey Wheat Bread recipe uses readily available ingredients, making it accessible to everyone. Let’s start by outlining what you need:
Ingredients:
- 2 cups (250g) warm water (105-115°F): Use a thermometer to ensure the water is the correct temperature. Too hot will kill the yeast; too cold will hinder its activation.
- 2 ¼ teaspoons (7g) active dry yeast: Make sure your yeast is fresh; outdated yeast won’t rise properly.
- 2 tablespoons (25g) honey: Use your favorite type of honey – wildflower, clover, or even a flavored honey will work.
- 2 tablespoons (25g) unsalted butter, softened: This adds flavor and richness to the bread.
- 1 teaspoon (5g) salt: Balances the sweetness of the honey.
- 1 large egg, lightly beaten: Adds structure and richness to the dough.
- 4 cups (500g) bread flour: Bread flour’s high protein content gives the bread structure and elasticity. You can substitute a portion with whole wheat flour for a different flavor and texture (see variations below).
- 2 cups (250g) whole wheat flour: For a richer flavor and added nutritional value.
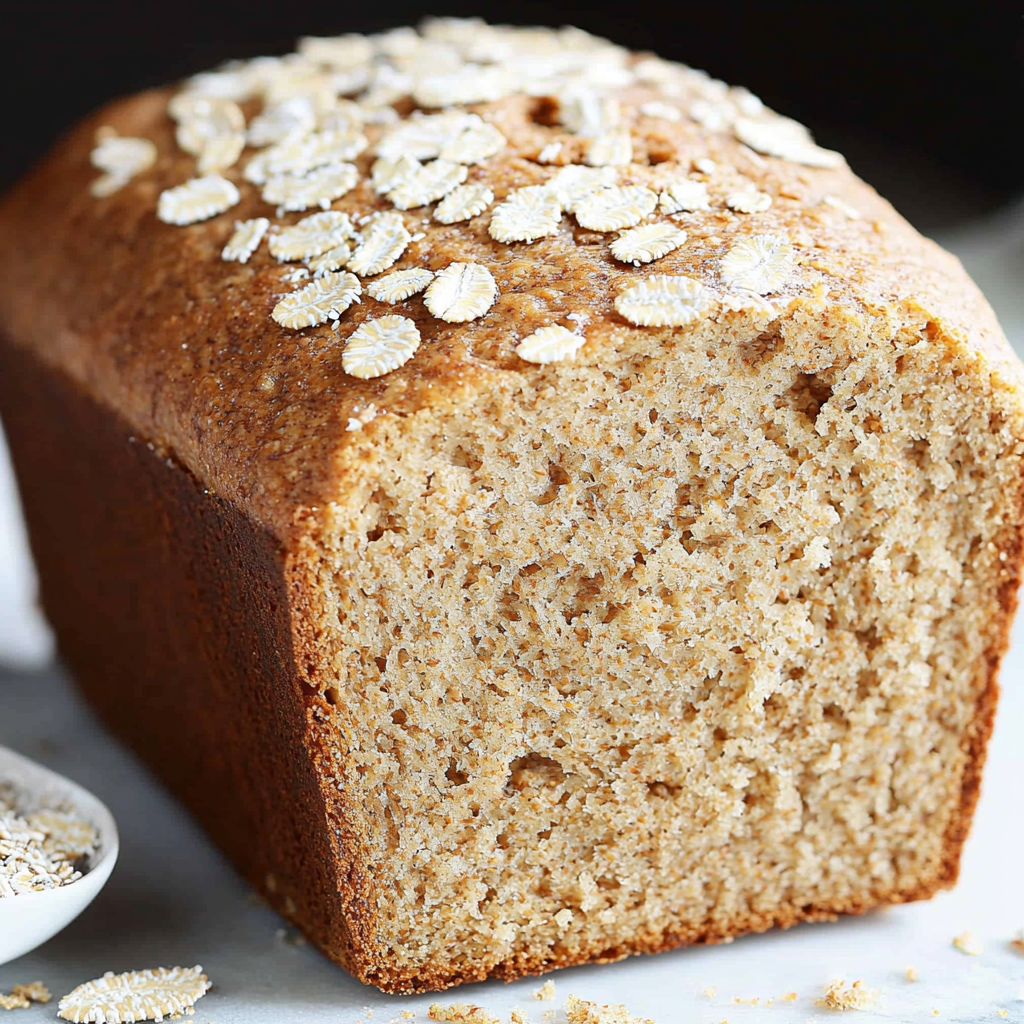
- 1 cup (125g) rolled oats (optional): This adds a pleasant texture and nutritional value.
Equipment:
- Large mixing bowl: For mixing the ingredients.
- Measuring cups and spoons: For accurate measurements, especially when baking.
- Wooden spoon or spatula: To mix the dough.
- Stand mixer (optional but recommended): A stand mixer makes kneading much easier.
- Lightly oiled bowl: For the first rise.
- Plastic wrap or kitchen towel: To cover the bowl during rising.
- 9×5 inch loaf pan: To bake the bread.
- Baking sheet: For stability in the oven.
- Parchment paper (optional): Makes for easier cleanup.
- Pastry brush (optional): For brushing the loaf with egg wash for a golden crust.
- Oven thermometer: To ensure your oven is at the correct temperature.
Step-by-Step Honey Wheat Bread Recipe
This detailed guide will walk you through each stage of making this delicious Honey Wheat Bread.
Step 1: Activate the Yeast
In your large mixing bowl, combine the warm water, honey, and yeast. **Stir gently** and let it sit for 5-10 minutes until foamy. This indicates the yeast is active and ready to work its magic.
Step 2: Combine Wet Ingredients
Once the yeast mixture is foamy, add the softened butter, egg, and salt. **Mix well** until everything is combined.
Step 3: Add Dry Ingredients
Gradually add the bread flour and whole wheat flour, a cup at a time, mixing until a shaggy dough forms. If using rolled oats, add them now. **Do not overmix at this stage.**
Step 4: Knead the Dough
This is where a stand mixer comes in handy. Knead the dough for 5-7 minutes with a dough hook attachment, or 8-10 minutes by hand, until it becomes smooth and elastic. If kneading by hand, turn the dough out onto a lightly floured surface and knead until smooth and elastic.
Step 5: First Rise (Bulk Fermentation)
Place the dough in a lightly oiled bowl, turning to coat. Cover the bowl with plastic wrap or a kitchen towel and let it rise in a warm place for 1-1.5 hours, or until doubled in size. **A warm spot (around 75-80°F) is ideal for yeast activity.**
Step 6: Shape the Loaf
Gently punch down the dough to release the air. Turn it out onto a lightly floured surface and shape it into a loaf. Place the loaf into your greased 9×5 inch loaf pan.
Step 7: Second Rise (Proofing)
Cover the loaf pan with plastic wrap or a kitchen towel and let it rise for another 30-45 minutes, or until almost doubled in size. **This allows the dough to develop more flavor and texture.**
Step 8: Bake the Bread
Preheat your oven to 375°F (190°C). Bake the bread for 30-35 minutes, or until golden brown and the internal temperature reaches 200°F (93°C). **Use an oven thermometer to ensure accurate temperature.**
Step 9: Cool and Enjoy
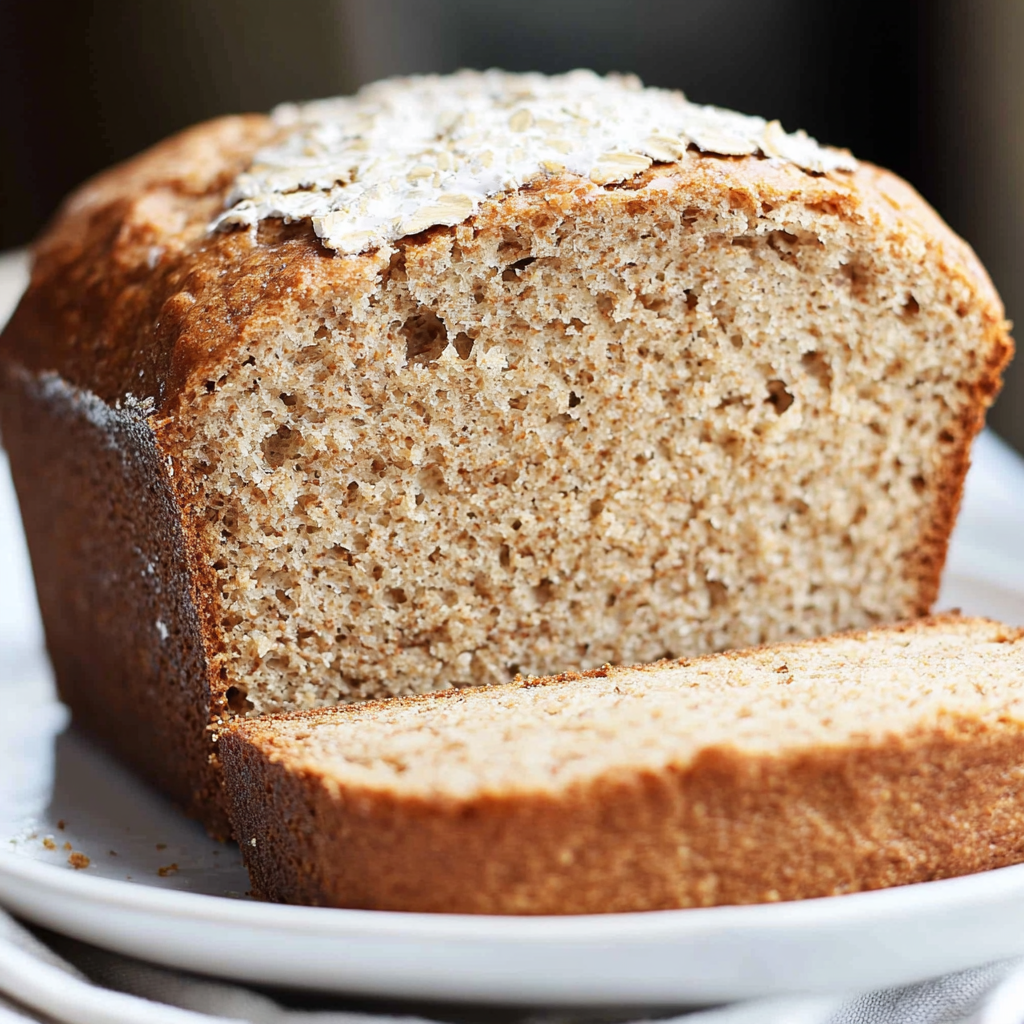
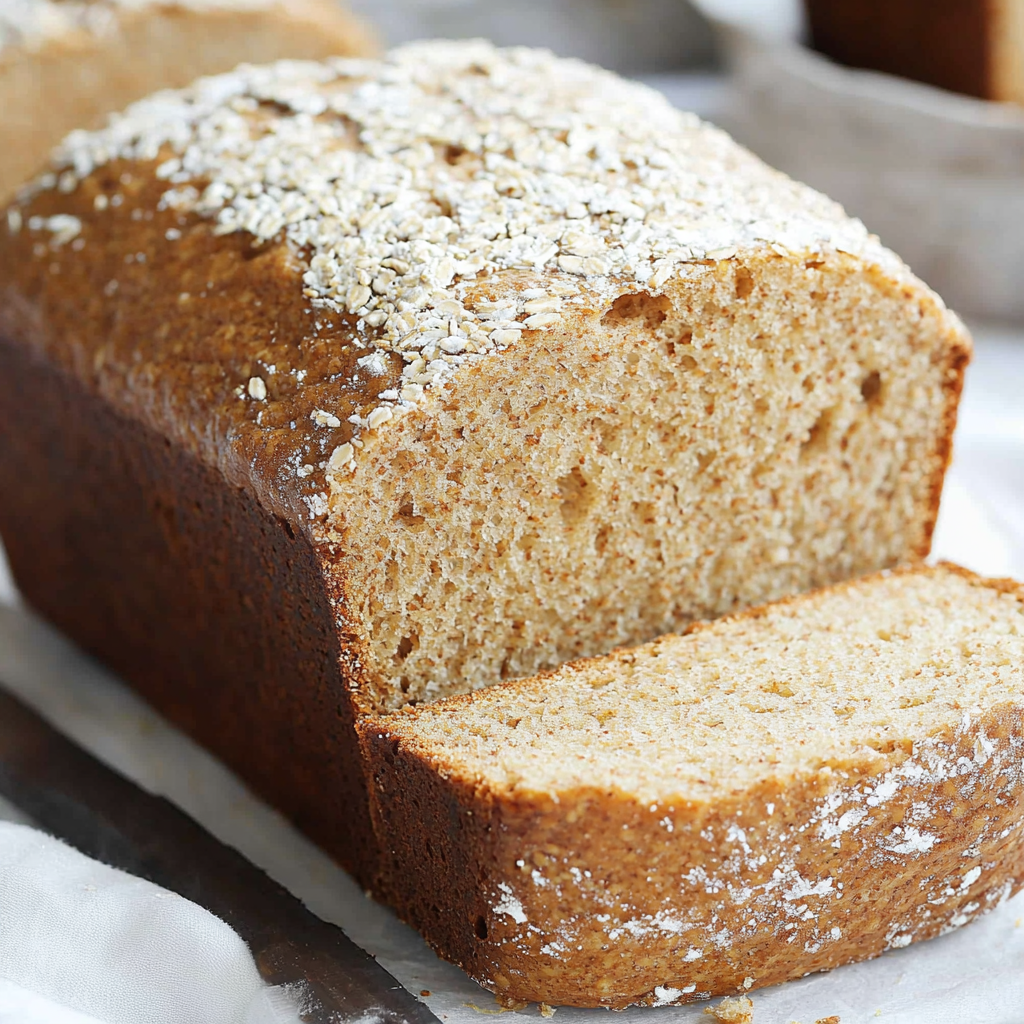
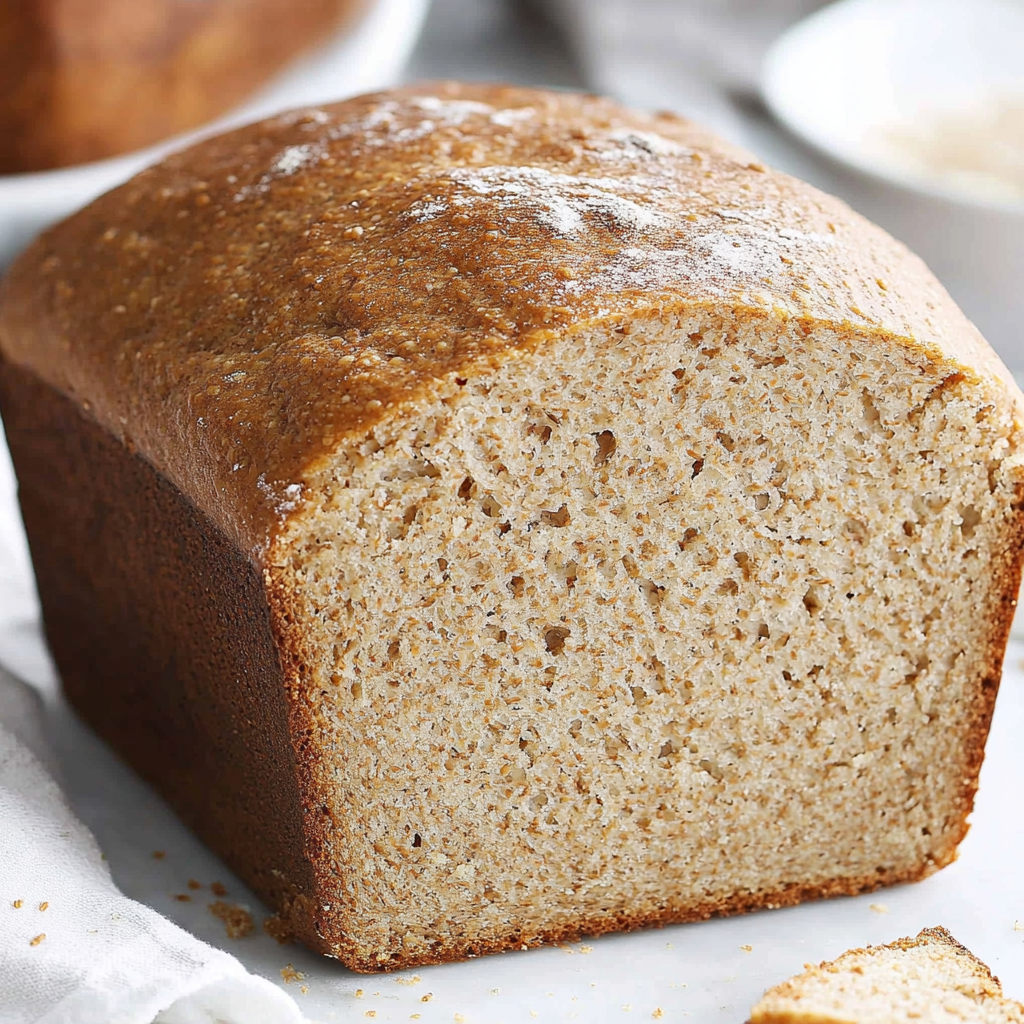
Remove the bread from the oven and let it cool in the pan for 10 minutes before transferring it to a wire rack to cool completely. **Allowing it to cool completely prevents a gummy interior.** Once cool, slice and enjoy your delicious homemade Honey Wheat Bread!
Tips and Variations for Your Honey Wheat Bread
This section offers helpful tips and exciting variations to personalize your Honey Wheat Bread.
Tips for Success:
- Use fresh yeast: Expired yeast will result in a flat loaf.
- Don’t overmix the dough: Overmixing develops the gluten too much, resulting in a tough loaf.
- Let the dough rise properly: Insufficient rising leads to a dense loaf.
- Check the internal temperature: Don’t rely solely on color; use an oven thermometer or instant-read thermometer to ensure it’s baked through.
- Cool completely before slicing: Slicing too early will result in a gummy interior.
Variations:
- Add nuts and seeds: Incorporate chopped walnuts, pecans, sunflower seeds, or pumpkin seeds into the dough for added texture and flavor.
- Add dried fruit: Raisins, cranberries, or chopped apricots add sweetness and chewiness.
- Use different types of honey: Experiment with various honey types for unique flavor profiles.
- Make it gluten-free: Use a gluten-free bread flour blend. You may need to adjust the liquid slightly. For a truly gluten-free variation, you might consider adding xanthan gum for binding.
- Make it vegan: Replace the egg with a flax egg (1 tablespoon flaxseed meal mixed with 3 tablespoons of water) or applesauce.
Nutritional Values and Health Benefits of Honey Wheat Bread
This Honey Wheat Bread is not just delicious; it’s also packed with nutritional benefits. While the exact nutritional content varies depending on the specific ingredients used, a typical serving offers a good source of carbohydrates for energy, along with fiber for digestion. The whole wheat flour provides essential vitamins and minerals, including iron and B vitamins. Honey adds natural sweetness without the refined sugar spike.
Approximate Nutritional Information (per slice): These values are estimates and may vary based on specific ingredients and serving size. For precise values, you’ll need to use a nutrition calculator and input all of your ingredients.
- Calories: Approximately 150-200
- Protein: Approximately 5-7g
- Fat: Approximately 3-5g
- Carbohydrates: Approximately 25-35g
- Fiber: Approximately 3-5g
The fiber content in this bread promotes healthy digestion and helps regulate blood sugar levels. The whole wheat flour provides essential minerals like iron, which helps carry oxygen throughout the body. The added honey offers antioxidants. However, it’s important to remember that moderation is key, as even healthy foods should be consumed as part of a balanced diet.
FAQ: Frequently Asked Questions about Honey Wheat Bread
Here are answers to some common questions about this recipe.
Q: Can I use a different type of flour?
A: While bread flour and whole wheat flour are recommended for their specific properties, you can experiment with other types of flour, but be aware that this may alter the texture and rise of the bread. You might need to adjust the liquid amount depending on the flour you choose. Using only all-purpose flour, for example, will likely result in a less dense and slightly less chewy loaf. Consult online resources for flour substitution ratios.
Q: What if my yeast doesn’t activate?
A: Ensure your yeast is fresh and the water is the correct temperature (105-115°F). If it still doesn’t activate, it might be time to buy new yeast. Always check expiration dates!
Q: My bread is too dense. What went wrong?
A: This could be due to several factors: using old yeast, not kneading the dough enough, insufficient rising time, or an oven temperature that was too low. Review the steps and try again, ensuring each step is followed carefully.
Q: My bread is too dry.
A: This might be because of insufficient liquid in the dough or over-baking. Ensure you’ve accurately measured the liquid ingredients and bake until an internal temperature of 200°F is reached.
Q: Can I freeze this bread?
A: Absolutely! Once the bread is completely cool, slice it and wrap it tightly in plastic wrap, then place it in a freezer bag. It can be frozen for up to 3 months. Thaw at room temperature or gently reheat in the oven.
Q: How can I make this bread sweeter?
A: Increase the amount of honey or add other sweeteners like maple syrup or brown sugar. Start with small increments to adjust to your preference.
Q: Can I add other flavors?
A: Absolutely! Get creative! Cinnamon, nutmeg, cardamom, or even chocolate chips would be delightful additions. Remember to adjust the baking time if you add more ingredients.
Conclusion: Your Journey to Perfect Honey Wheat Bread
This Honey Wheat Bread recipe is more than just instructions; it’s a journey to culinary satisfaction. From the satisfying kneading process to the incredible aroma of freshly baked bread, each step is designed to bring you joy. We hope this comprehensive guide empowers you to bake your own perfectly golden, subtly sweet, and wonderfully textured loaf. Whether you’re an experienced baker or just starting, this recipe is your key to unlocking a world of homemade bread.
We encourage you to try this recipe and share your experience in the comments section below. Let us know what variations you tried, what you enjoyed most, and any tips you’d like to share with other bakers. Don’t forget to share this delicious recipe with your friends and family! Happy baking!
For more baking inspiration, check out these related articles from [Allrecipes](https://www.allrecipes.com/) and learn more about the history of bread from [Wikipedia](https://en.wikipedia.org/).


